Step 3 – Get it On
I decided to take the monitor apart right away because it seemed like the most fun and least labor-intensive part of the project.
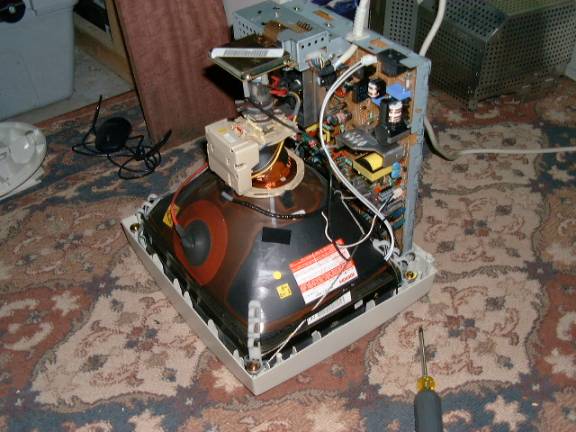
Innards. . .sweet!
I discovered that the tube and circuit board are actually only connected via the plastic front piece and some wires. I’m guessing that the wires are important so I won’t be able to remove the monitor completely until I build some sort of frame to hold it together.
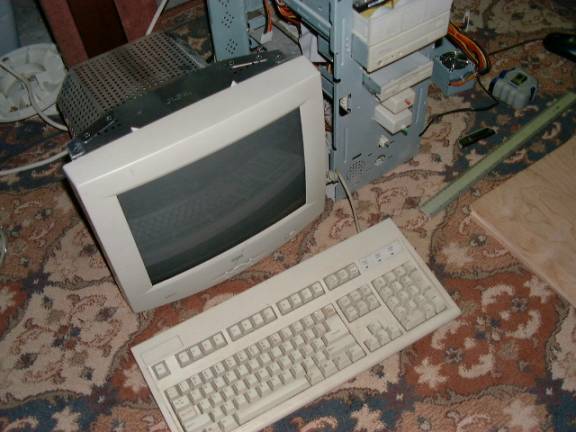
I realized that I should have tested the computer first so I partially re-assembled the monitor.
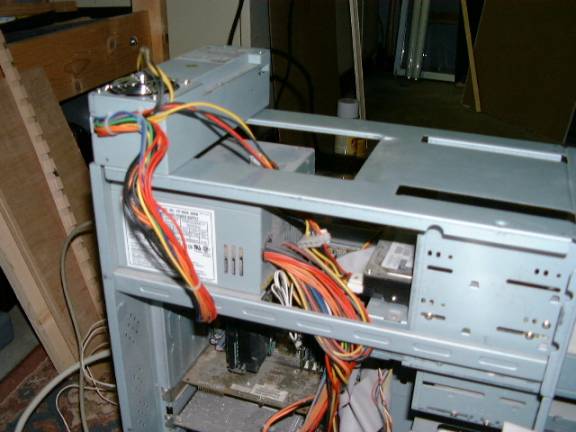
The power supply in the second picture is from an ultra slim dell computer. I’ve been saving it for years “just in case” and what do you know, it’s perfect for this project. It’s lighter and smaller than a normal power supply. Also the fan points in a different direction than the power cord (unlike standard power supplies) so I can point the fan out the back and keep the cord inside. I think this is the first time that I ever used something like this that I had been saving.
I’m running windows 2000 because I have windows 2000. I stopped all un-essential windows services to get the most performance possible.
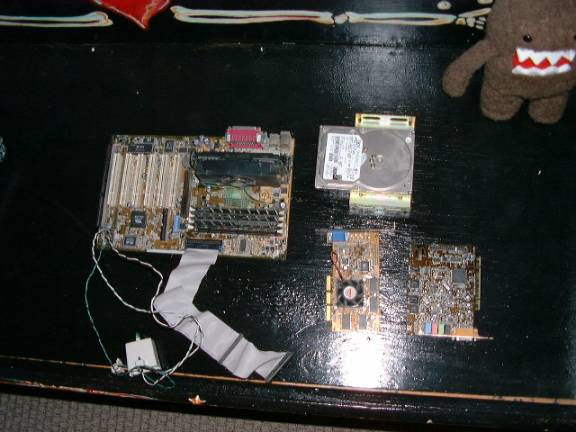
The power supply is only 160 watts so I removed all peripherals. Just the motherboard, video card, sound card and hard drive. I’ll use a USB memory key to transfer software to it if necessary. Domo-kun won’t actually be going inside (even though he is in this picture) but, perhaps some of his kickass juju will rub off on my components.
Which brings me to my next consideration, software. . .